Fixing IPv6 Router Advertisements on the UXG Pro
Motivation
I recently bought a Ubiquity UniFi Next Generation Gateway Pro and at first glance I was happy that the transition from the USG Pro 4 went smoothly. But then I had to realize that my clients did not receive IPv6 addresses. So I did some research and found this post, but it's about the Dream Machine Pro.
https://blog.mikejmcguire.com/2020/12/13/fixing-ipv6-router-advertisements-on-the-udm-pro/
Environment
Currently I'm using Firmware 1.13.8 for the UXG Pro.
Prerequisites
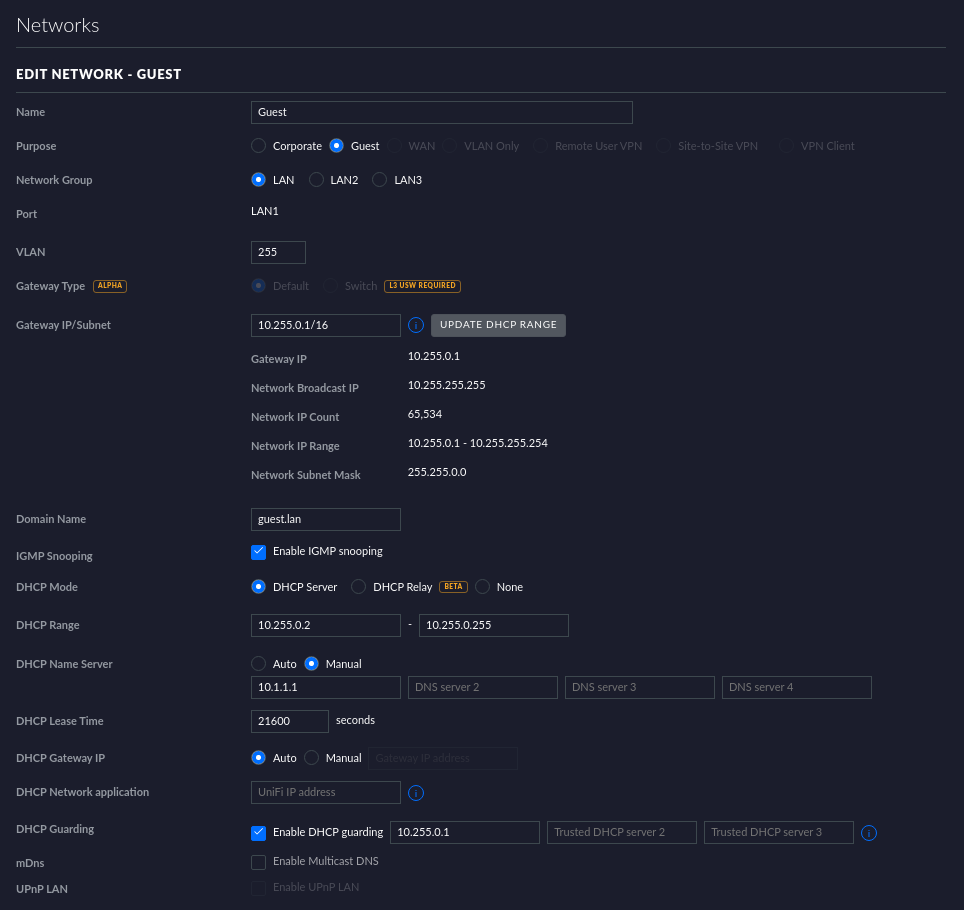
Be sure to enable both IPv6 RA and DHCPv6 for your networks. Otherwise the configuration composed to /run/dnsmasq.conf.d/ will not show any IPv6 configuration.


Fixing things to get SLAAC (not managed)
Smart people found a way to put boot scripts in the UXG Pro. All steps were executed through SSH into the UXG Pro.
https://github.com/unifi-utilities/uxg-boot
After the installation, a directory is available under /mnt/data/on_boot.d/ whose shell scripts are executed after the boot process. I wrote a script that modifies the configuration of Dnsmasq. The file is located at /mnt/data/on_boot.d/ipv6ra.sh.
#!/bin/sh
ln -s /mnt/data/on_boot.d/ipv6ra.conf /run/dnsmasq.conf.d/ipv6ra.conf
start-stop-daemon -K -q -x /usr/sbin/dnsmasq
Make sure to give execution rights to the file via the following command.
chmod +x /mnt/data/on_boot.d/ipv6ra.sh
The configuration file located at /mnt/data/on_boot.d/ipv6ra.conf looks like follows (IPv6 /60 prefix anonymized). The RA Valid Lifetime is set to 21600 seconds (6 hours). Each line is a configured network. Note that the configured keys consist of the network name and the IPv4 subnet pattern. If you are unsure about the key, have a look at the /run/dnsmasq.conf.d/*_IPV6.conf files. Our config below overrides one line in those configs.

dhcp-range=set:net_LAN_br0_10-1-0-0-16_IPV6,xxxx:xxxx:xxxx:xxx1::2,xxxx:xxxx:xxxx:xxx1::ffff,slaac,64,21600
dhcp-range=set:net_IoT_br0_10-2-0-0-16_IPV6,xxxx:xxxx:xxxx:xxx2::2,xxxx:xxxx:xxxx:xxx2::ffff,slaac,64,21600
dhcp-range=set:net_Domotics_br0_10-3-0-0-16_IPV6,xxxx:xxxx:xxxx:xxx3::2,xxxx:xxxx:xxxx:xxx3::2,slaac,64,21600
dhcp-range=set:net_Kids_br0_10-4-0-0-16_IPV6xxxx:xxxx:xxxx:xxx4::2,xxxx:xxxx:xxxx:xxx4::2,slaac,64,21600
dhcp-range=set:net_Guest_br0_10-255-0-0-16_IPV6,xxxx:xxxx:xxxx:xxxf::2,xxxx:xxxx:xxxx:xxxf::2,slaac,64,21600
This is the result.

That's it. Reboot the UXG Pro or execute the ipv6ra.sh script and you are done.
Follow Up (2023-04-27)
Since Firmware 3.0.7 the configuration got wiped and the workaround no longer works. Have a look at the following issue.
https://github.com/unifi-utilities/unifios-utilities/issues/523
However, I found a basic approach. Init-scripts at /etc/init.d/ will survive reboots. With that I managed to mount the Dnsmasq config. Just like before, let's create a file located at /etc/init.d/ipv6-slaac with execution rights (chmod +x /etc/init.d/ipv6-slaac). The script does exactly the same as the solution before, the only difference is that we dynamically create the config file.
#!/bin/sh
### BEGIN INIT INFO
# Provides:       ipv6-slaac
# Required-Start: $ALL
# Required-Stop:
# Default-Start:  2 3 5
# Default-Stop:
# Description:    IPv6 SLAAC config
### END INIT INFO

# Build config
cat > /run/dnsmasq.conf.d/dhcp.dhcpServers-IPV6_SLAAC.conf<< EOF
dhcp-range=set:net_LAN_br0_10-1-0-0-16_IPV6,xxxx:xxxx:fad4:xxx1::,slaac,64,21600
dhcp-range=set:net_IoT_br0_10-2-0-0-16_IPV6,xxxx:xxxx:fad4:xxx2::,slaac,64,21600
dhcp-range=set:net_Domotics_br0_10-3-0-0-16_IPV6,xxxx:xxxx:xxx4:4053::,slaac,64,21600
dhcp-range=set:net_Kids_br0_10-4-0-0-16_IPV6,xxxx:xxxx:fad4:xxx4::,slaac,64,21600
dhcp-range=set:net_Guest_br0_10-255-0-0-16_IPV6,xxxx:xxxx:xxxx:xxxf::,slaac,64,21600
EOF

# Restart Dnsmasq
start-stop-daemon -K -q -x /usr/sbin/dnsmasq
To ensure the script is executed at boot, let's create a service file at /etc/systemd/system/ipv6-slaac.service.
[Unit]
Description=IPv6 SLAAC config
After=udapi-server.service

[Service]
Type=simple
ExecStart=/etc/init.d/ipv6-slaac
Restart=on-failure

[Install]
WantedBy=multi-user.target
This may not survive updates, but it's a viable alternative.
That's it. Reboot and you are done.
Follow Up (2023-07-18)
The solution above even survived the upgrade to Firmware 3.1.8.

Comments
Post a Comment